So, You’re Looking for The Cheesecake Recipe? You Found It
Let’s cut to the chase. You’re here because you’re on a mission for the perfect cheesecake. You’ve probably scrolled through dozens of recipes, seen countless flawless pictures, and thought, “Can I actually make that?” The big, lingering question on your mind is, is cheesecake recipe something a regular person can conquer without it ending in a cracked, soupy mess?
Yes. Absolutely, yes.
Forget the intimidation. Forget the stories you’ve heard about needing a special oven or a magic touch. My first few attempts at cheesecake were, to put it kindly, disasters. We’re talking cracks you could lose a fork in. But that frustration pushed me to figure out what really works. This isn’t just a list of ingredients and steps; this is the result of that journey. So take a deep breath, because this truly is cheesecake recipe success waiting to happen.

What Makes This One Different?
Before we get our hands dirty, you should know why this recipe is the one. It isn’t about overly complex techniques. It’s about focusing on a few small details that make a massive difference. Think of it as the difference between just following instructions and actually understanding the craft. We’re going to nail the texture, the flavor, and that glorious, unblemished top. Every time someone asks me “what is cheesecake recipe you use?” I happily send them this one because I know it works. It’s built on simple, repeatable secrets that I’m about to share with you.
Let’s Talk Ingredients (The Non-Negotiables)
Alright, first things first. Your ingredients are your foundation. A wobbly foundation makes for a wobbly house, right? Same principle applies here. Let’s gather our lineup.
For that Buttery, Crunchy Crust:
- 121 cups of graham cracker crumbs (about 10 full crackers, which are surprisingly fun to smash)
- 2 tablespoons of plain old granulated sugar
- 7 tablespoons of unsalted butter, nicely melted

For the Star of the Show – The Filling:
- 32 ounces (that’s four 8-ounce blocks) of full-fat block cream cheese. Don’t even think about the low-fat stuff in the tub. It won’t work.
- 121 cups granulated sugar
- 4 large eggs
- 1 cup full-fat sour cream
- 1 tablespoon of pure vanilla extract (the good stuff, if you have it)
- 2 tablespoons of all-purpose flour
- Just a tiny pinch of salt
Here’s the most important tip I can give you: everything needs to be at room temperature. I’m serious. Set your cream cheese, eggs, and sour cream out on the counter for at least an hour, maybe two. Cold ingredients are the number one cause of lumpy cheesecake batter. This single step is cheesecake recipe law.
The Blueprint to a Perfect Cheesecake
Ready? Let’s walk through this. I’ll be right here with you.
1. Crust First. Get your oven preheating to 175∘C (350∘F). Now, in a bowl, mix your graham cracker crumbs and sugar. Pour in that melted butter and stir it all up until it feels like damp sand. Press this mixture firmly into the bottom of a 9-inch springform pan. Use the bottom of a glass to get it nice and compact. Pop it in the oven for 10 minutes. This little pre-bake keeps it crisp.
2. The Creamy Filling. In a big bowl, beat the room-temperature cream cheese with a mixer until it’s completely smooth. Scrape the sides of the bowl like you mean it. No lumps allowed! Now, slowly pour in the sugar and salt while mixing. The key to a velvety filling is cheesecake recipe execution at its finest, starting right here.
3. Eggs and Things. Turn your mixer down to low. Add your eggs one by one, mixing only until each yolk disappears. I can’t stress this enough: don’t overmix! Overmixing whips air into the batter, and air is what causes those dreaded cracks. Gently mix in your sour cream and vanilla. Finally, add the flour, mixing on the lowest speed for just a few seconds until it’s combined. That’s it. Stop mixing. Your perfect batter is ready.
4. The Water Bath Spa. Pour that beautiful batter into your cooled crust. Now for the secret weapon: the water bath. Wrap the outside of your pan in a couple of layers of heavy-duty aluminum foil. This is your insurance against leaks. Place the whole thing in a larger roasting pan and pour hot water into the roaster until it comes about an inch up the side of your cheesecake pan. This “spa” for your cheesecake ensures it bakes gently and evenly. Bake for 55 to 70 minutes. It’s done when the edges are set, but the center still has a little wobble, like Jell-O. Your understanding of this step is cheesecake recipe mastery.
5. The Slow Cooldown. This is as important as the baking. Turn off the oven, crack the door open, and just leave the cheesecake in there for an hour. This prevents the sudden temperature change that causes cracks. After an hour, take it out, let it cool completely on the counter, then cover it and put it in the fridge. It needs to chill for at least 6 hours. Overnight is even better. Patience truly is cheesecake recipe’s final, crucial ingredient.
A Few Extra Tricks I’ve Learned
You want to make people think you’re a professional pastry chef? Of course you do. This little bit of extra care is cheesecake recipe elevation.
- No Peeking! Opening the oven door lets heat escape and can cause your cheesecake to sink or crack. Resist the urge.
- Lemon Zest: Add the zest of one lemon to the batter with the vanilla. It doesn’t make it taste like lemon, it just brightens the whole flavor profile.
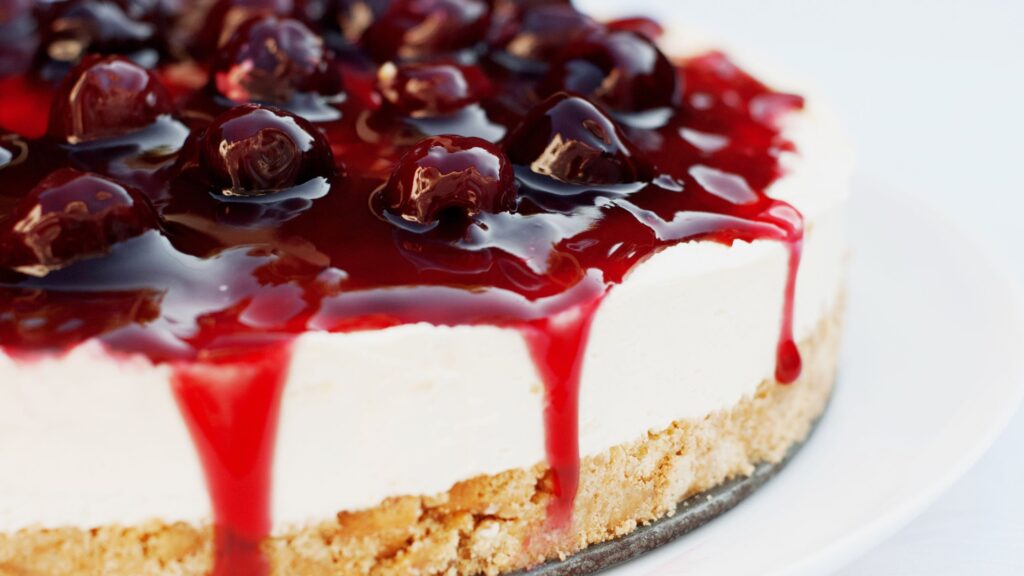
- Topping Ideas: This cheesecake is a perfect blank canvas. A simple sour cream topping (1 cup sour cream, 2 tbsp sugar, 1 tsp vanilla spread on top during the last 5 minutes of baking) is a classic. Fresh berries, chocolate ganache, or a salted caramel drizzle are also amazing choices. When you have a perfect base, you can’t go wrong. You’ll be telling everyone, “this is cheesecake recipe I swear by!”
You now have the knowledge and the method. This isn’t just a random set of directions; it’s a proven roadmap. So the next time you hesitate and ask yourself is cheesecake recipe worth the effort, you’ll know the answer is a resounding yes. You’ve got this.
For more kitchen wins and recipes that just plain work, you can always find me over at Zero Theories.
Disclaimer: Ovens can be quirky and ingredients can vary. For best results, follow these steps as closely as possible and trust the process. Happy baking!